You are probably asking what is pointillism? Pointillism is a technique of painting in which small, distinct dots of color are applied in patterns to form an image. I will walk you through the process of making this but in Adobe Illustrator instead of a canvas. It will be a long process but totally worth it in the end.
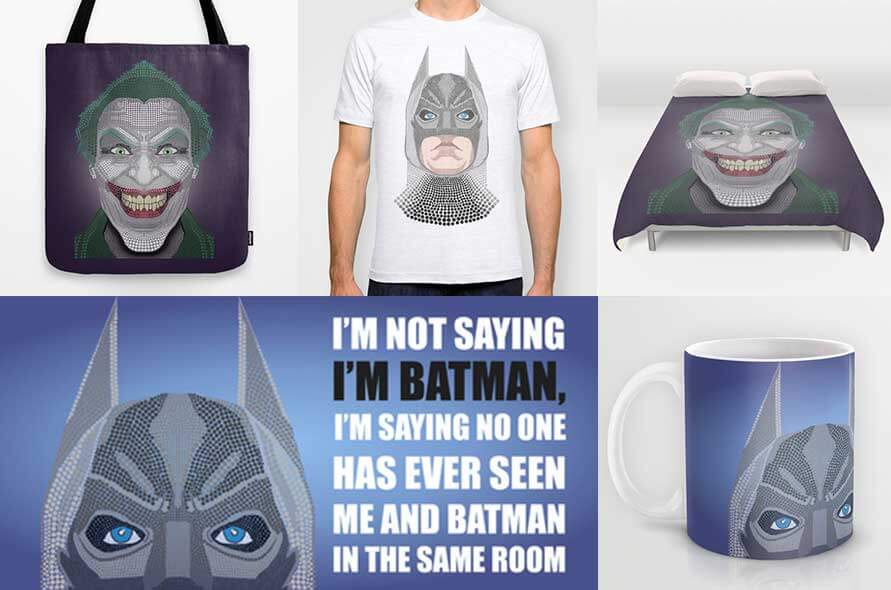
You can also do this in photoshop, canvas or any medium you would like to use. I’ve chosen to do this in Illustrator so that I could get it printed on numerous things.
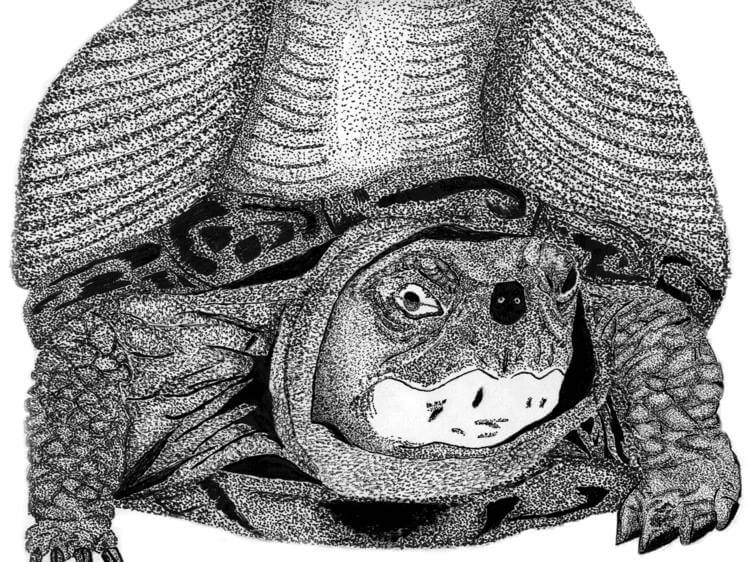
I first learned this process my senior year of High School with my amazing art teacher Mr. O’Connell. Here is an example of just using pen and paper. I traced out the pattern with a very light pencil. Then filled in the main areas with dots. If you want a certain area to be exaggerated either use more dots or larger dots. It gives the effect of shadow.
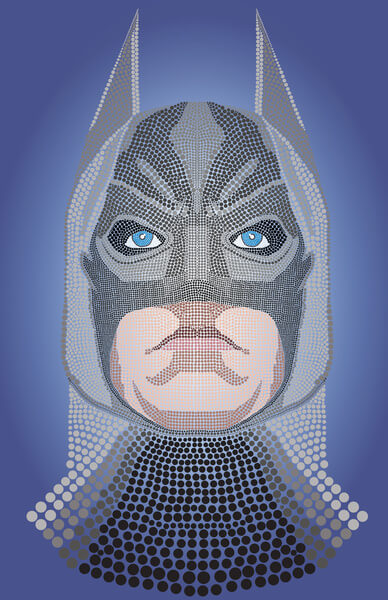
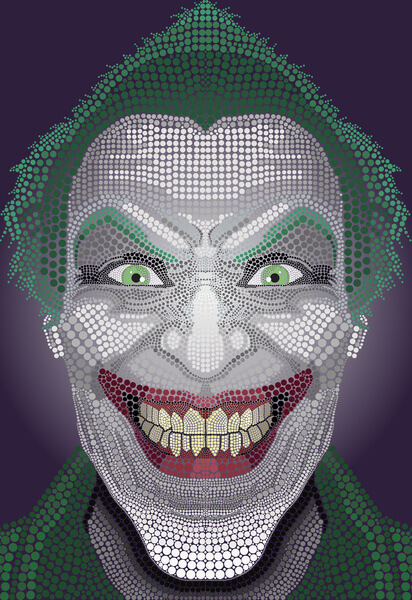
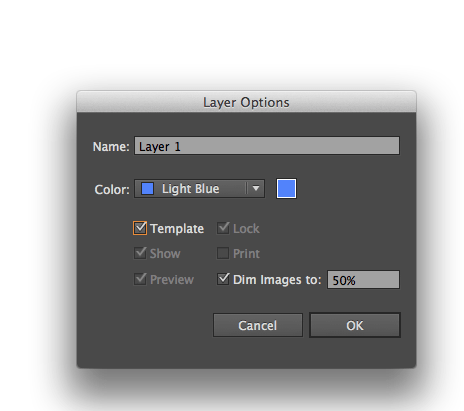
Let’s start our project by opening Adobe Illustrator. If you do not already have this software you will need to download it from http://www.adobe.com/. I gathered my image Batman and Joker of course because of my love for comics. You can choose any design that you want to work with. I made this the template layer by double clicking on the layer then clicking template.
Now make another layer for your artwork. Pick out the colors you will use and add them to your swatches. You can use the eye dropper and reference the colors from your template or make new colors.
You can start from any area in the artwork but I would recommend starting from the middle because it is easier when trying to line up all the dots. Lets get started first by making a couple template dots from the color swatches you picked. Then begin when you see a pattern like in the nose where it is a straight line take that one circle command + C then command + v in the pattern.
This process is long and time consuming but it’s just like working with pen and paper. To make things easier I recommend coping more than 1 when you can take as many dots as you can and keep doing it. Just make sure you straighten them out and make them match so that it doesn’t look sloppy and still reads as your image. If you have a large dark area I would make those circles larger. I do this because you don’t have to make so many and it shows more depth into the picture.
I outlined certain areas with a very small group of black circles to make certain elements would not blend together. Especially when you have similar colors this will be important. You can see this in the teeth of the joker and the eyes of batman.
This project depending on the size of your template is going to take you some time to complete. It might take hours and it might take days it just depends on how many circles you can make at one time.
Once you are done with the dots make a gradient color to go behind your image make sure your gradient is on radial, and the color is light in the middle to dark. This just brings out the artwork. You can pick any color to do this that exaggerates the dots.
Alright, now you’re done congratulations you have a project that probably took forever to finish but looks totally awesome. You can show this to friends and family and astonish them with the fact that you completed this with just dots. Well done take a bow.